Plywood Siding Panels: A Complete Guide to Structure and Installation
Plywood siding panels offer an affordable and versatile exterior cladding solution for residential and commercial buildings. Understanding their construction, available grades, and proper installation techniques helps homeowners and contractors make informed decisions when choosing exterior wall coverings. This comprehensive guide covers everything you need to know about plywood siding panels, from basic structure to professional installation methods.

How Are Plywood Siding Panels Constructed?
To explore the basic structure of plywood siding panels, it’s essential to understand their layered composition. These panels consist of multiple thin wood veneers, typically three to seven layers, bonded together with moisture-resistant adhesives. The grain direction alternates between layers, with each veneer positioned perpendicular to the adjacent ones. This cross-grain construction provides exceptional strength and dimensional stability, making plywood siding panels resistant to warping, splitting, and shrinkage.
The face veneer, which forms the visible exterior surface, is usually made from cedar, fir, or other weather-resistant wood species. The core layers often utilize less expensive wood varieties, while the back veneer provides additional structural support. Modern manufacturing processes ensure consistent thickness and smooth surfaces, creating panels that accept stains and paints effectively.
What Grades and Finishes Work Best for Exterior Applications?
When you compare grades and finishes suitable for exterior use, several classification systems help determine the appropriate panel for specific applications. The American Plywood Association (APA) grades exterior plywood siding using letters A through D, with A representing the highest quality face veneer and D indicating the lowest grade suitable for structural use.
For siding applications, common grades include T1-11, which features vertical grooves and a textured surface, and Medium Density Overlay (MDO), which provides an exceptionally smooth painting surface. Rough-sawn finishes offer a rustic appearance, while smooth-sanded surfaces work well for painted applications. Exterior-grade adhesives, such as phenol-formaldehyde, ensure long-term durability in harsh weather conditions.
The panel’s exposure rating is equally important, with Exposure 1 panels designed for extended construction delays and Exterior panels engineered for permanent outdoor exposure. These ratings guarantee the adhesive bond will withstand moisture and temperature fluctuations throughout the panel’s service life.
Which Installation Methods Provide the Best Results?
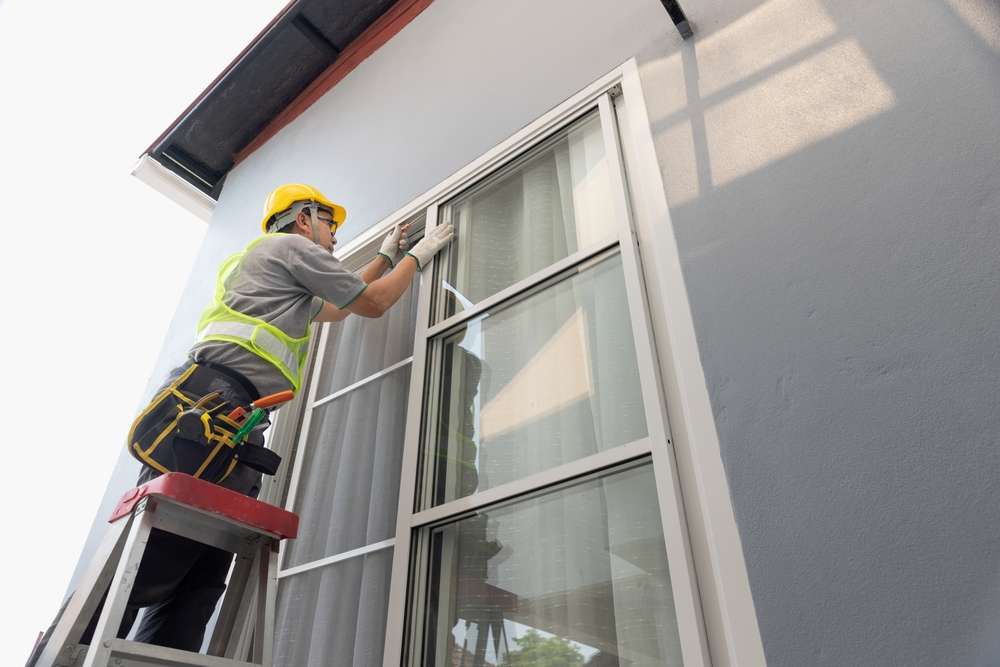
Professional installers learn common installation methods and tools required for successful plywood siding projects. The horizontal lap method involves installing panels with overlapping joints, creating a traditional clapboard appearance. Vertical installation emphasizes the panel’s height and works particularly well with T1-11 siding.
Board-and-batten installation combines wide panels with narrow strips covering the joints, creating attractive shadow lines and weather protection. Sheet installation covers large wall areas quickly but requires careful attention to joint sealing and flashing details.
Proper fastening is crucial for long-term performance. Ring-shank or spiral nails provide superior holding power compared to smooth nails, while stainless steel or galvanized fasteners prevent corrosion staining. Fasteners should penetrate the underlying sheathing by at least one inch, with spacing typically 6 inches on center along panel edges and 12 inches on center at intermediate supports.
What Tools and Equipment Are Essential for Installation?
Professional installation requires specific tools for measuring, cutting, and fastening plywood siding panels. A circular saw with a fine-tooth blade produces clean, splinter-free cuts, while a miter saw handles precise angle cuts around windows and corners. Chalk lines ensure straight installation lines, and levels verify proper alignment.
Power nailers or staplers speed installation and provide consistent fastener placement. A caulk gun applies sealants around windows, doors, and panel joints. Safety equipment, including eye protection, hearing protection, and work gloves, prevents injuries during installation.
Measuring tools such as tape measures, squares, and scribes help achieve professional-looking installations. A block plane smooths rough edges, while sandpaper prepares surfaces for finishing. Quality brushes and rollers ensure even application of primers and topcoats.
Unique Benefits and Considerations for Global Applications
Plywood siding panels offer distinct advantages in various climates worldwide, adapting well to both humid and arid conditions. In coastal regions, marine-grade plywood provides enhanced moisture resistance, while desert climates benefit from the panels’ dimensional stability during extreme temperature swings. European manufacturers often produce panels with different metric dimensions, requiring careful specification when sourcing materials internationally.
Many countries have developed specific building codes addressing plywood siding installation, particularly regarding fire resistance and seismic considerations. Some regions favor locally sourced wood species, creating unique appearance characteristics while supporting sustainable forestry practices.
Cost Analysis and Material Comparison
Understanding the financial aspects of plywood siding helps in project planning and budgeting decisions. Material costs vary significantly based on grade, thickness, and regional availability.
| Panel Type | Thickness | Price Range per sq ft | Key Features |
|---|---|---|---|
| T1-11 Siding | 5/8” | $1.50 - $2.25 | Grooved texture, economical |
| MDO Plywood | 1/2” | $2.75 - $3.50 | Smooth finish, paint-ready |
| Cedar Siding | 3/8” | $3.25 - $4.75 | Natural resistance, premium grade |
| Rough Sawn | 5/8” | $2.00 - $3.00 | Rustic appearance, textured |
Labor costs typically range from $3 to $7 per square foot, depending on local wages and project complexity. Additional expenses include fasteners ($0.15-$0.25 per sq ft), flashing materials ($0.50-$1.00 per linear foot), and finishing materials ($0.75-$1.50 per sq ft).
Prices, rates, or cost estimates mentioned in this article are based on the latest available information but may change over time. Independent research is advised before making financial decisions.
Plywood siding panels represent a practical choice for exterior wall cladding, combining structural integrity with design flexibility. Proper grade selection, installation techniques, and finishing methods ensure decades of reliable performance while maintaining the building’s aesthetic appeal. Whether renovating existing structures or constructing new buildings, understanding these fundamental aspects helps achieve professional results that withstand environmental challenges while providing excellent value for the investment.


